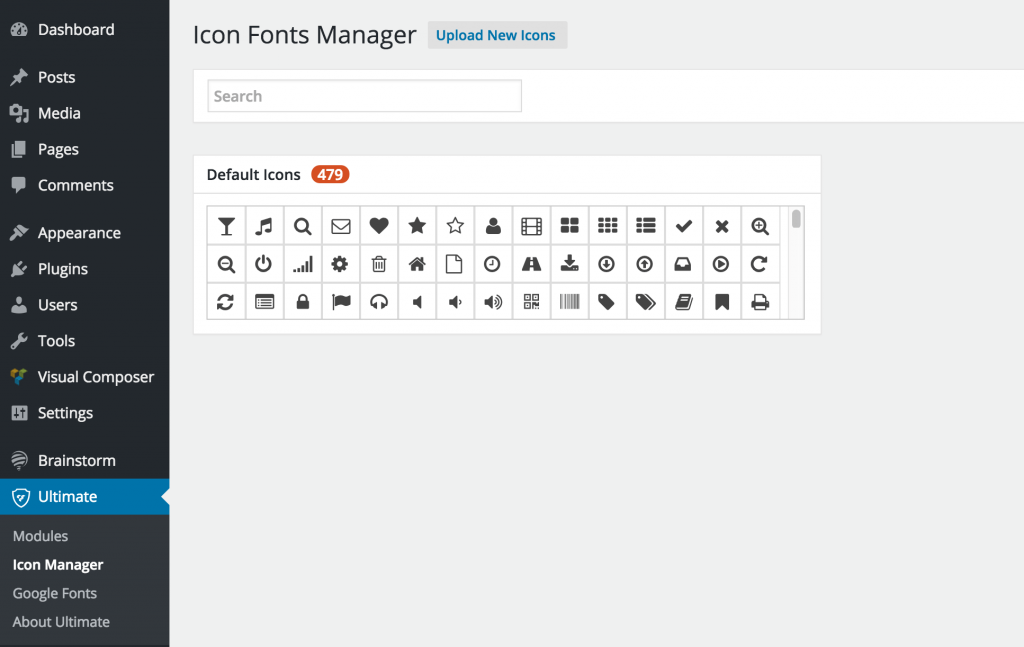
Our Icon Fonts Manager plugin was revolutionary when we first introduced it. It made adding new Icon Fonts in WordPress site swift and possible to non coders. You just download the .zip file from IcoMoon and upload it Icon Fonts Manager plugin. Rest is all figured out and automatically managed for you.
This article will explain all that happens behind the scene when you upload a new Icon Font zip in the Icon Fonts Manager.

1. Our plugin uploads the .zip file in the appropriate directory at wp-content/uploads/
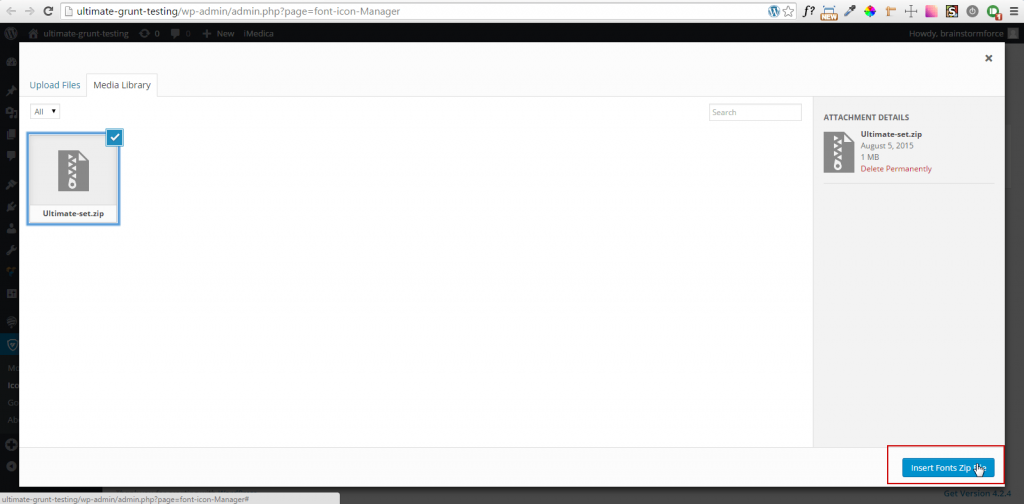
2. When you click “Insert Fonts Zip file” the zip will be extracted in the directory and files will be located at /wp-content/uploads/smile_fonts/smile_temp.

3. The directory “smile_temp” is renamed with the font name.
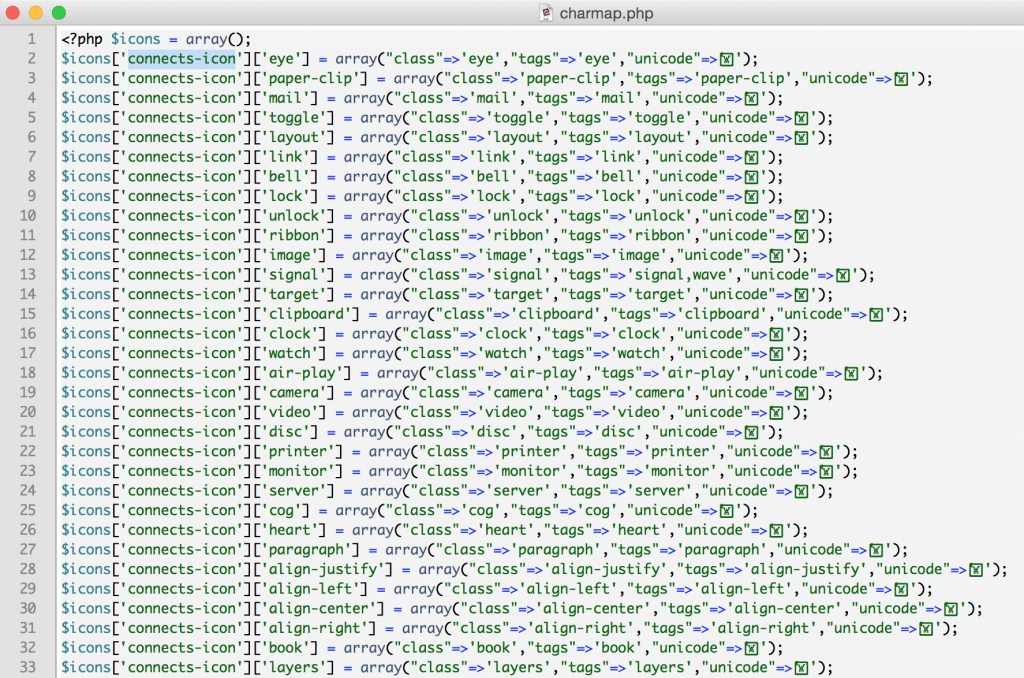
4. While creating the font directory, a config file “charmap.php” is created dynamically.
The contents of this file is dependent on the zip file you generated on IcoMoon.
The contents of charmap.php file would generally looks like this –

You can customize these contents (if you wish) for every font before downloading the .zip file from IcoMoon.
The name & tags are used for search functionality.
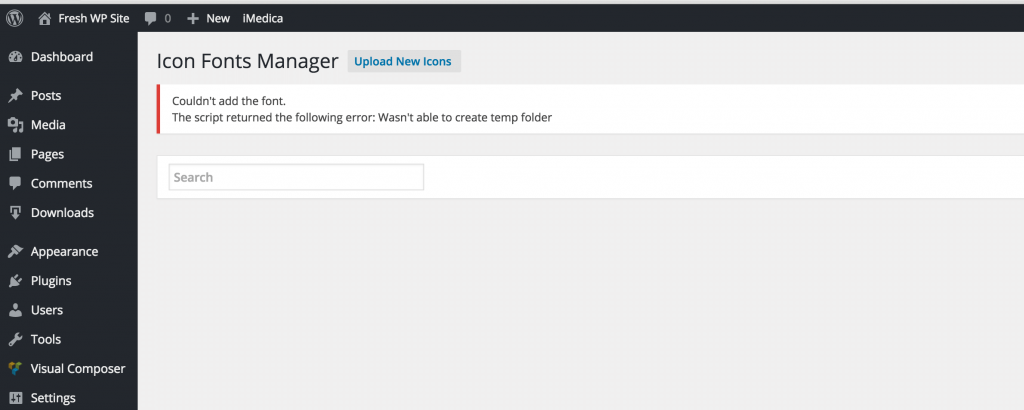
5. In this process, if the permissions are not appropriate (lesser than 755 to directories) to execute the functions, our script would return an error and the font directory will be deleted from the smile_fonts directory.

To learn more about file permission in WordPress, you may go through this article.
6. A database entry is added.
smile_fonts in wp_options table with an array.
array contains –
'include' - path to the font directory (smile_fonts)
'folder' - path to the font directory (smile_fonts/icomoon)
'style' - path to the stylesheet of the font
'config' - path to the charmap.php file
* An array is for each Font zip.
* This array is serialized. In case, if you want to add entries in DB manually, you would need to serialize first.
7. CSS style of the font icon will be en-queued on the front end and on the font manager page in admin and on the edit / new post page in admin.
The Whole Series: